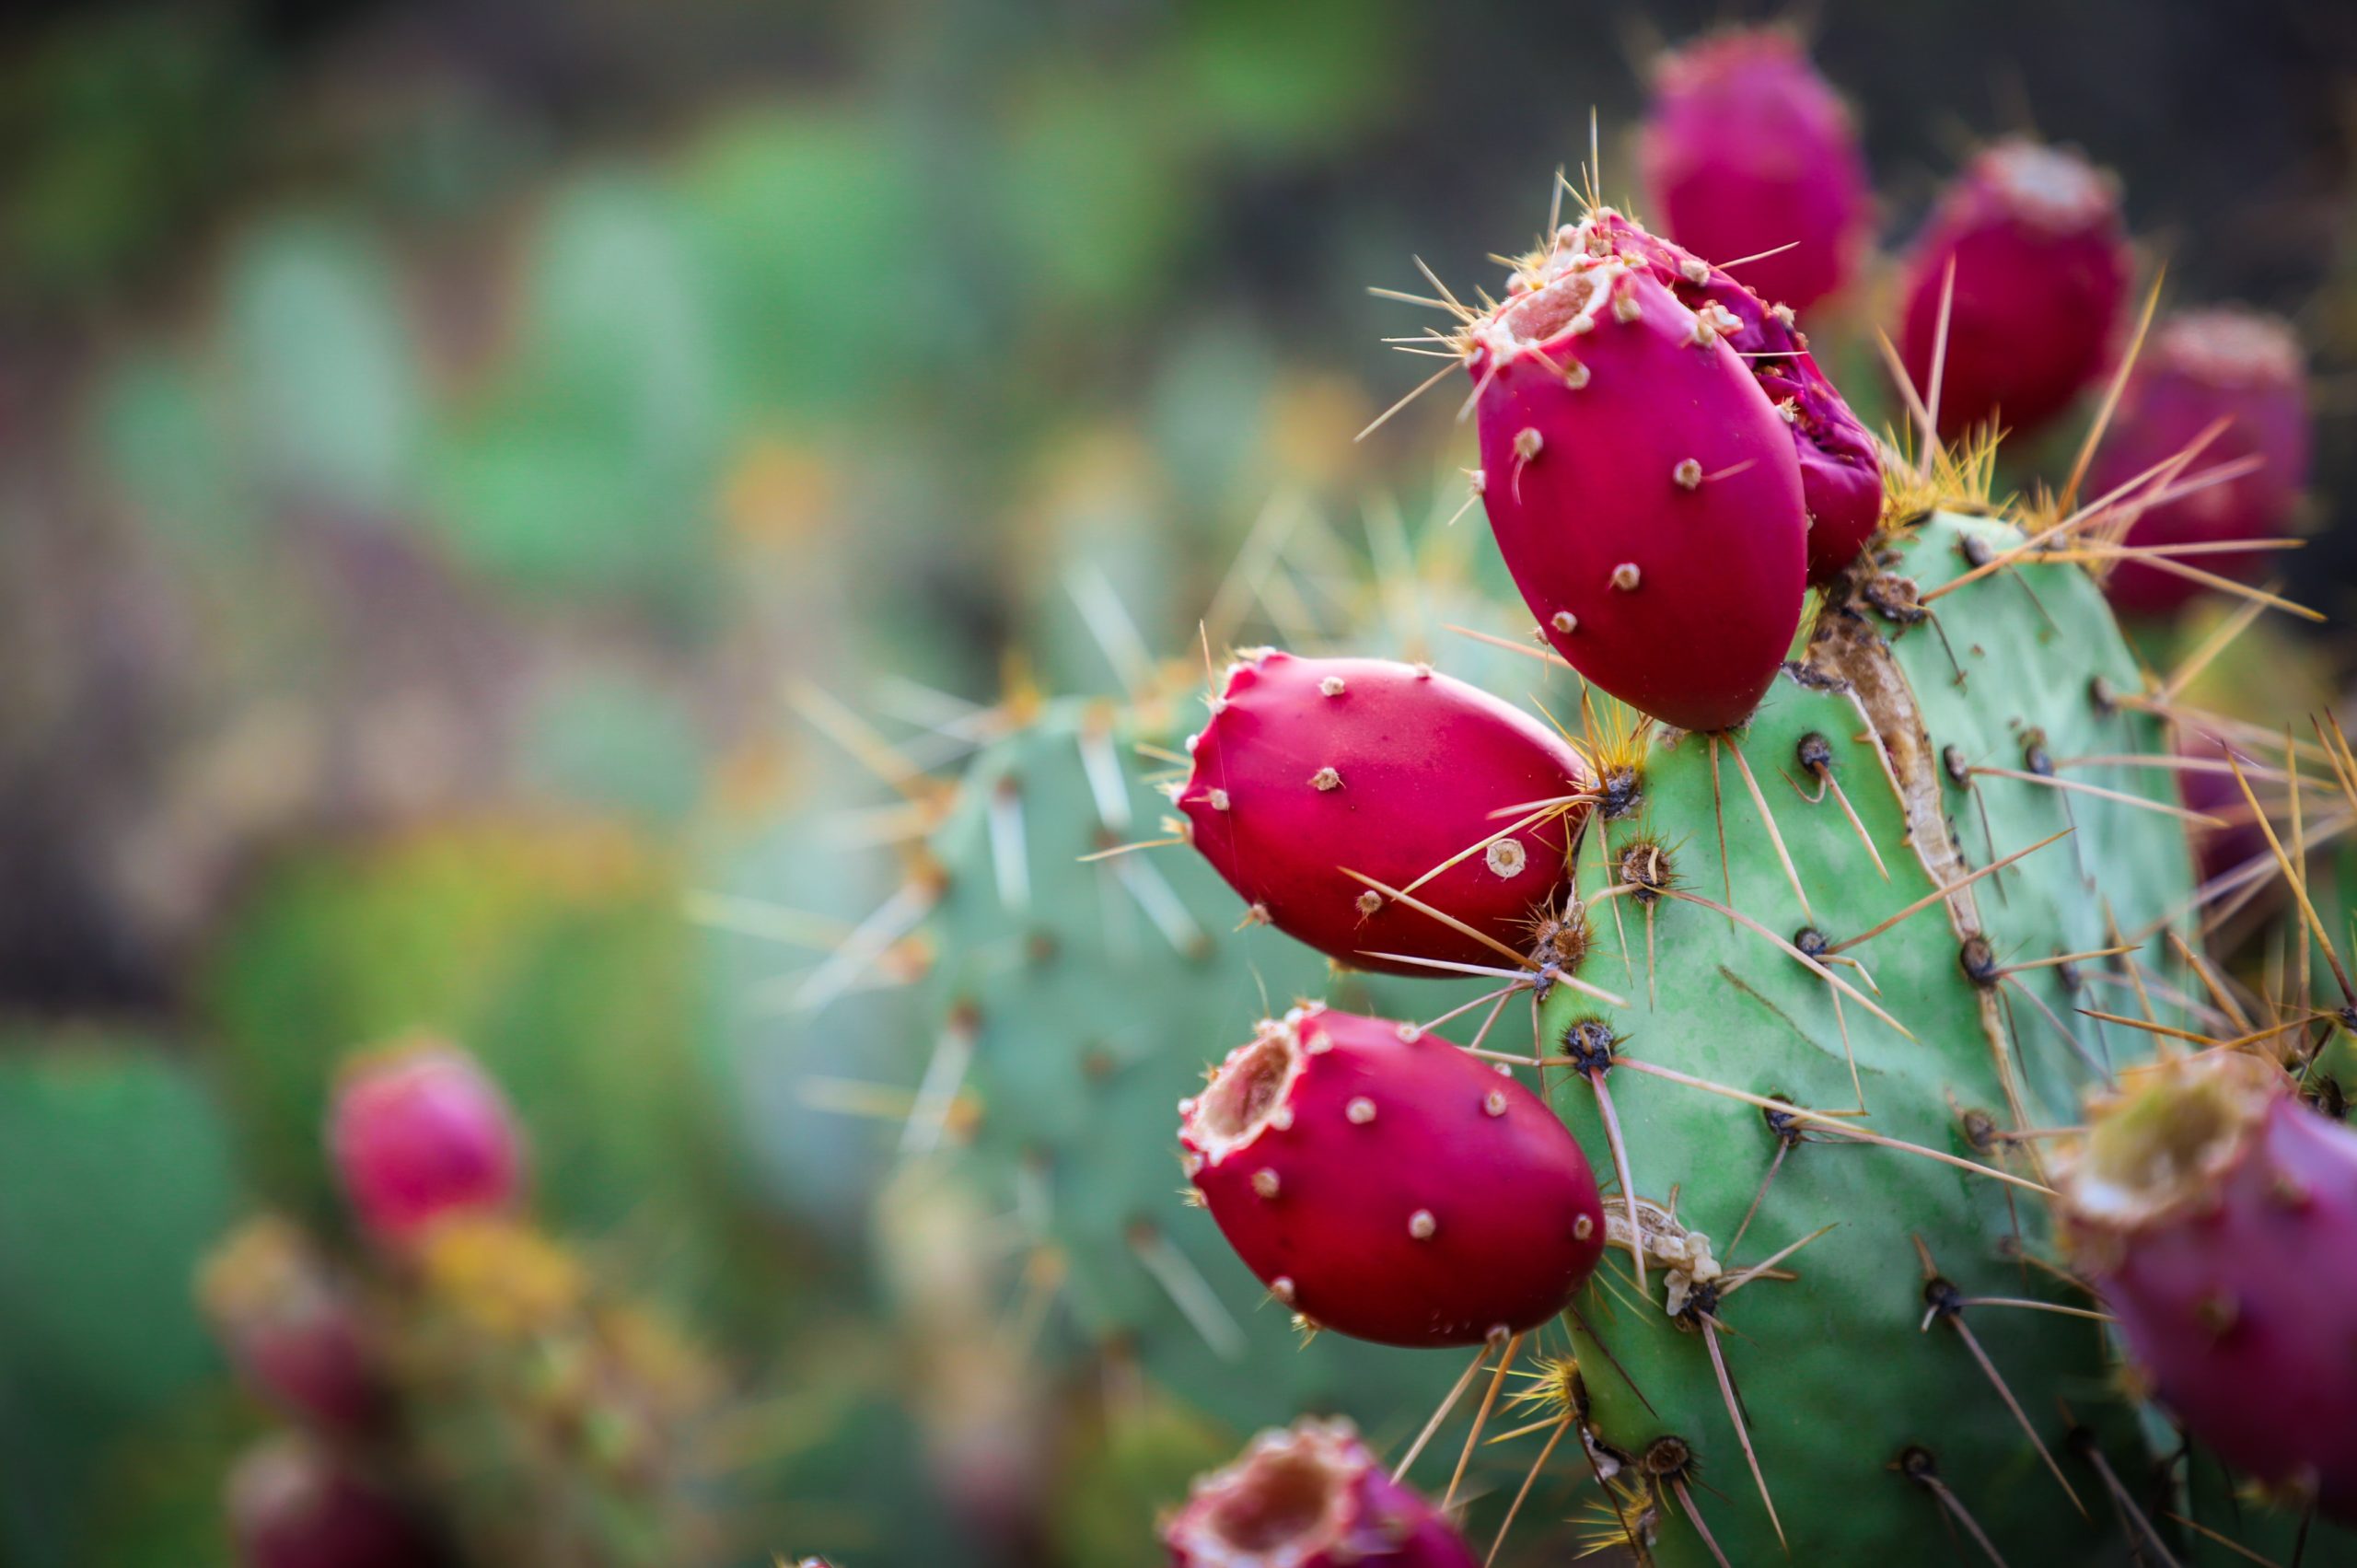
Prickly Pear Liqueur Recipe
Hey Guys and Gals!
Are you looking for an awesome Prickly Pear Liqueur Recipe? You now have no reason to look any further; you have just found what you have been looking for! This is a recipe for the most awesome tasting Prickly Pear Liqueur in the world.
Ingredients
- 10 whole cactus or prickly pears (caution, there are needles on these)
- 2 1/4 cups of vodka
Step 2
- 3 cups of water
- 1 1/2 cups of sugar
Instructions
- Make a syrup with the water and sugar, allowing to become thick. Cool and set aside.
- Remove fruit and add the sugar syrup.
- Strain and age for 20 days.
Step 2
- 3 cup water
- 2 cups sugar
Directions
Step 1
How to peel cactus pears
- To protect your hands and fingers, it’s best to use a fork, a towel, or even a gardener’s glove to steady the fruit while you work with it
- Cut off the Ends of the Prickly Pear.
- Cut Lengthwise Through the Prickly Pear’s Skin.
- Now make a single slit lengthwise through the prickly pear’s skin. Cut just deep enough to reach the fruit, but try not to cut into the fruit itself.
- Gently pry off the skin the orangish inside is your fruit!
- And remember there is tiny pricks that will get you if you are not careful the entire time.
Step 2
- Combined the sugar and water in a saucepan and bring mixture to a boil and reduce heat to a simmer until sugar has dissolved. Remove from heat and set aside to cool.
- Once syrup has come to room temperature, place in an airtight jar and store in the refrigerator.
Aging, Straining, filtering, and Drinking Your Prickly Pear Liqueur
Shake well and store away from sunlight in a cool and dry place for 2 week.
Agitate it on occasion to help extract the flavors.
After 2 weeks, strain your liqueur through several layers of cheesecloth.
It helps to moisten the cheesecloth first so the liquid permeates more smoothly.
Once you get to the point where you have strained everything out, you can gently wring the cheesecloth to extract all of the liquid and juice.
If you still need to strain your liqueur further due to lack of clarity, you can strain it 1 more time through a coffee strainer.
Combine your aged liqueur with your simple syrup from step 2 in directions, add the sugar water slowly tasting till its to your likeness.
Put your bottle in the fridge. Keep it well hidden, from your family and friends so it will remain your secret surprise for your next party. And don’t forget, always serve cold!
Congratulations, You Have Completed Making this Awesome Prickly Pear Liqueur Recipe!
You now need a bottle and a label which are cool enough to compliment your hard work. Honestly, if you put it into a cheap bottle, people will make fun of you. BUT, if it looks good, people will rave about it!
Utensils Tips
Here is a list of the simplest utensils that you can use; the ones Mom should already have in the kitchen:)
Utensils:
– A large glass jar (3 liter jar)
– large plastic bowl
– measuring cups (liquid and dry)
– metal strainer
– cheesecloth
– saucepan
– small funnel
– glass bottles, or storage containers, for the final product, you can either use the glass Jar you used before, or just buy a second one.
Notes on Utensils and Ingredients
- Glass is always preferable when working with strong alcohol. Avoid plastic as much as possible.
- Use organic ingredients to avoid pesticide residues.
Other Great Recipes for You to Check Out!
- Hawthorn Liqueur Recipe D.I.Y.
- Jenipapo Liqueur Recipe D.I.Y.
- Mayhaw Liqueur Recipe D.I.Y.
- Chokecherry Liqueur recipe D.I.Y
- Grapefruit Liqueur Recipe D.I.Y.
- Black Cherry Liqueur recipe D.I.Y.
- Maple Syrup Liqueur Recipe D.I.Y.
- Vanilla infused Brandy Liqueur D.I.Y.
- Saffron Infused Liqueur Recipe D.I.Y
- Jasmine Liqueur recipe D.I.Y.
To spirits and cheers,
Binyomin Terebelo, Master Distiller and Drinkologist.
Photo by Frankie Lopez on Unsplash
#liqueurrecipe#D.I.Y.Liqueur#PricklyPearLiqueur#D.I.Y.

I love hearing from you about why you love something I wrote or published or a recipe I don’t know. I am Master Distiller at Terebelo Distillery, Love all things alcohol. Freelance for Grogmag and blog recipes for buildthebottle.com Weekend Rabbi too.
Pingback: Prickly Pear Wine Recipe D.I.Y. - Wine Build The Bottle