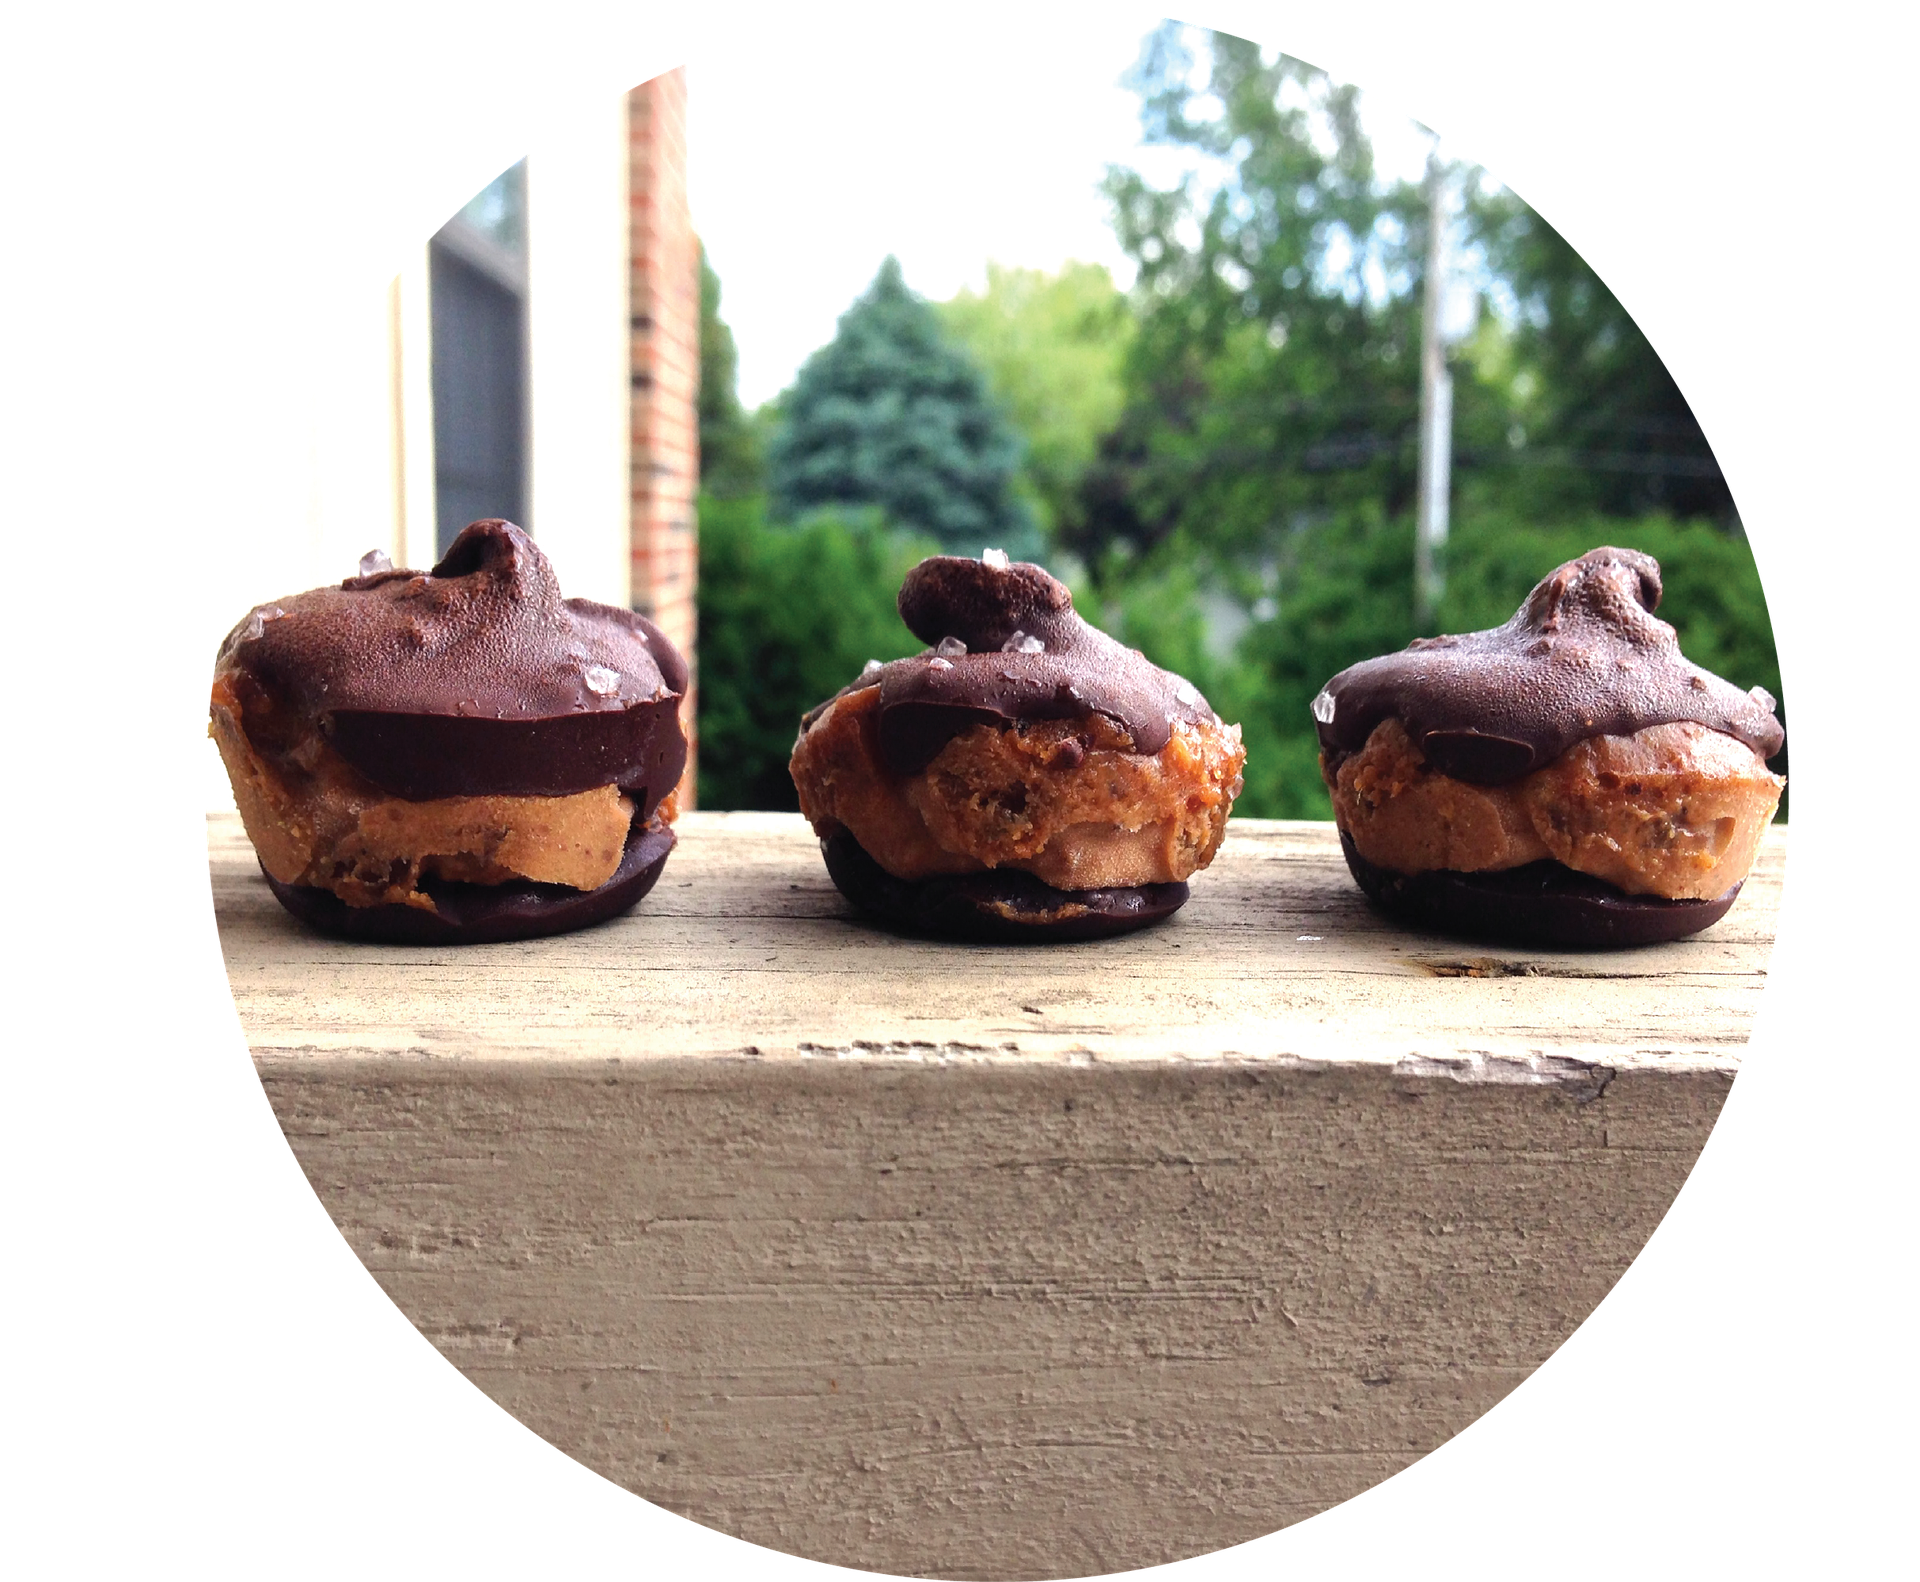
Peanut Butter Cup Beer Recipe D.I.Y.
Hey Guys and Gals!
Are you looking for an awesome Peanut Butter Cup Beer Recipe? You now have no reason to look any further; you have just found what you have been looking for!
- Original Gravity: 1.070 (17.0° P)
- Final Gravity: 1.022 SG (5.7° P)
- Alcohol by Vol: 6.3%
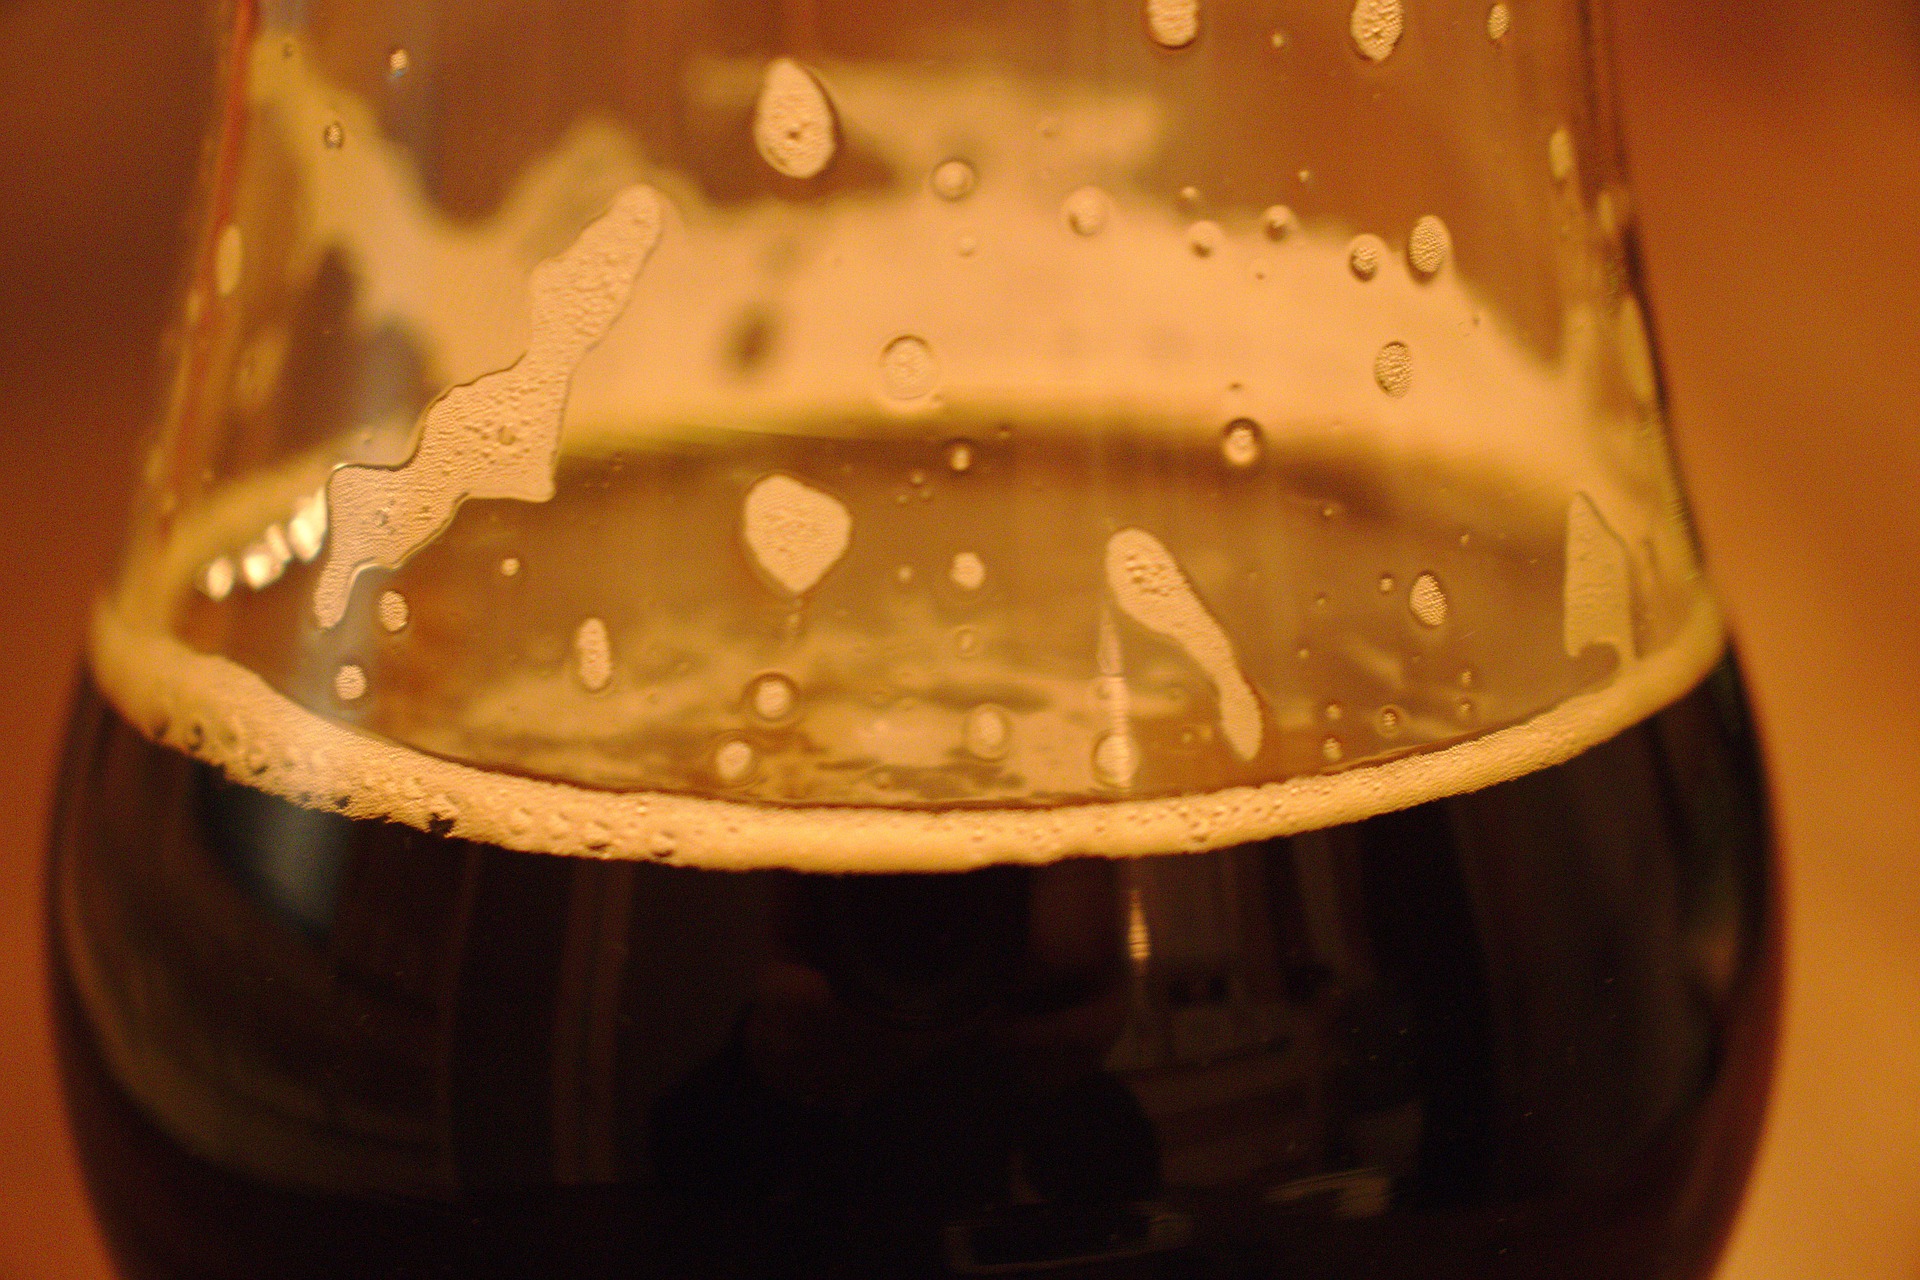
- Color black
- Bitterness IBU: 26.2
- Recipe Type: all-grain
- Yield: 5.00 US Gallons
- Beer Style: Brown Porter (12A)
- Recipe Type: all-grain
- Yield: 5 US gallons
Ingredients:
- 10 lbs – Pale Malt (2 Row) US (2.0 SRM) (Grain)
- 1 lbs 11.6 oz – Carafoam (2.0 SRM) (Grain)
- 14.0 oz – Caramel/Crystal Malt – 80L (80.0 SRM) (Grain)
- 14.0 oz – Chocolate Malt (350.0 SRM) (Grain)
- 7.5 oz – Black (Patent) Malt (500.0 SRM) (Grain)
- 1.0 oz – Northern Brewer [8.5%] – Boil 60 min (Hops)
- 1.0 oz – Willamette [5.5%] – Boil 20 min (Hops)
- 1.00 – Whirlfloc Tablet (Boil 15 min) (Misc)
- 2.00 lbs – PB2 (Boil 10 min) (Misc)
- 2.00 oz – Caco Nibs (Boil 0 min) (Misc)
- 1 pkgs – London Ale (White Labs #WLP013) (Yeast)
Additional Instructions
Boil: 60 Minutes
Beer Profile
Original Gravity: 1.070 (17.0° P)
Final Gravity: 1.022 SG (5.7° P)
Alcohol by Vol: 6.3%
Color SRM: black
Bitterness IBU: 26.2
Recipe Type: all-grain
Yield: 5.00 US Gallons
Directions
All the equipment or comes into contact with brew must be sanitized. Though the fermenting equipment can be done while the wort is cooling. Be sure to clean and sanitize the fermenters, airlock, lid, hose, hydrometer and test jar and rubber stopper.
Step 1
- 10 lbs – Pale Malt (2 Row) US (2.0 SRM) (Grain)
- 1 lbs 11.6 oz – Carafoam (2.0 SRM) (Grain)
- 14.0 oz – Caramel/Crystal Malt – 80L (80.0 SRM) (Grain)
- 14.0 oz – Chocolate Malt (350.0 SRM) (Grain)
- 7.5 oz – Black (Patent) Malt (500.0 SRM) (Grain)
Bring 3.25-3.5 gallons of water to 170F and add grain.
Add above grains to grain bag tie a knot at one end of the “Grain Bag” leaving room for the grains to be loose in the bag. Place the Grain Bag in the water.
This will reduce temp to about 120-130F. Stir and slowly raise temp to 143-150F and hold for 30 min.
After 30 minutes remove the “Grain Bag” from the pot. Do not squeeze the bag, just let the liquid drain from the bag into the pot.
The water is now called a “Wort” at this point and will be referred to as such.
After removing grain bag bring the “Wort” to a boil. It should be brought to a rolling boil, but be careful to avoid a “Boil Over. This Boil will last for 90 min.
Step 2
- 31.0 oz – Northern Brewer [8.5%] – Boil 60 min (Hops)
At the very beginning of the boil.
Step 3
- 1.0 oz – Willamette [5.5%] – Boil 20 min (Hops)
20 mins before end of boil add the above.
Step 4
- 1.00 – Whirlfloc Tablet (Boil 15 min) (Misc)
30 min before end of boil.
Step 5
- 2.00 lbs – PB2 (Boil 10 min) (Misc)
Step 6
- 2.00 oz – Caco Nibs (Boil 0 min) (Misc)
After fire is out
Fermentation Through Bottling
Once the boiling period is over, it is time to cool the wort. If you have a wort chiller use it now.
Transfer the wort into the primary fermenting vessel, then top off with cold water.
Aerate the wort at this point. This can be accomplished with an aeration stone or simply by rocking the fermenter back and forth once the lid is in place.
This is the time that you will want to take a specific gravity reading. Use a hydrometer and record the reading. Your targeted gravity levels though temperature will affect so you just need within range.
Step 6
Once the wort is cooled to around 75° F, it is safe to pitch the yeast. Pitch according the proper procedures of the type of yeast you have.
- 1 pkgs – London Ale (White Labs #WLP013) (Yeast)
Prepare a 2L yeast starter by stirring the yeast into the water then let mixture stand in cup for 15 minutes, make sure it is bubbling and then you will add it to your beer after the beer has cooled.
Fermentation
Ferment for 1 week at yeasts suggested temp on package.
Make sure your carboy is around a third empty leaving space for frothing and foaming.
After primary fermentation rack into your secondary carboy and let sit for another week. The less exposure to oxygen the better it will taste so be careful when you rack. You might have to scoop out the hops and place in secondary if its floating do that first.
After secondary fermentation sterilize and then bottle cap. Siphon slowly so that that sediments don’t get mixed in.
Step 8
- 3 oz of priming sugar
Add priming sugar before bottling.
Congratulations, You Have Completed Making this Awesome Peanut Butter Cup Beer!
You now need a bottle and a label which are cool enough to compliment your hard work. Honestly, if you put it into a cheap bottle, people will make fun of you. BUT, if it looks good, people will rave about it!
Additional Info
Notes on Utensils and Ingredients
- Glass is always preferable when working with strong alcohol. Avoid plastic as much as possible.
- Use organic ingredients to avoid pesticide residues.
You Like Our Recipes So Try Our Vodka
Other Great Recipes for You to Check Out!
- Pumpkin Liqueur Recipe D.I.Y.
- Jackfruit Liqueur Recipe D.I.Y.
- Cucumber Gin Liqueur Recipe
- Carrot Liqueur Recipe D.I.Y.
- Wall Germander Liqueur Recipe
- Plum Liqueur Recipe D.I.Y.
- Sour Apple Cinnamon Liqueur recipe D.I.Y.
- Plum Liqueur Recipe D.I.Y.
- Sour Apple Cinnamon Liqueur recipe D.I.Y.
From Our Sister Blog Terebelo.com
- Marketing With Optimism
- The Marketing Of My Vodka Named Yello
- Sales Pitch Listen Don’t Talk
- What Is In A Handshake
- Be Well Rested Before A Meeting
You Will Find Great Analysis At tastethebottle.com Of Yor Favorite Bottle
To spirits and cheers,
Binyomin Terebelo, Master Distiller and Drinkoligist
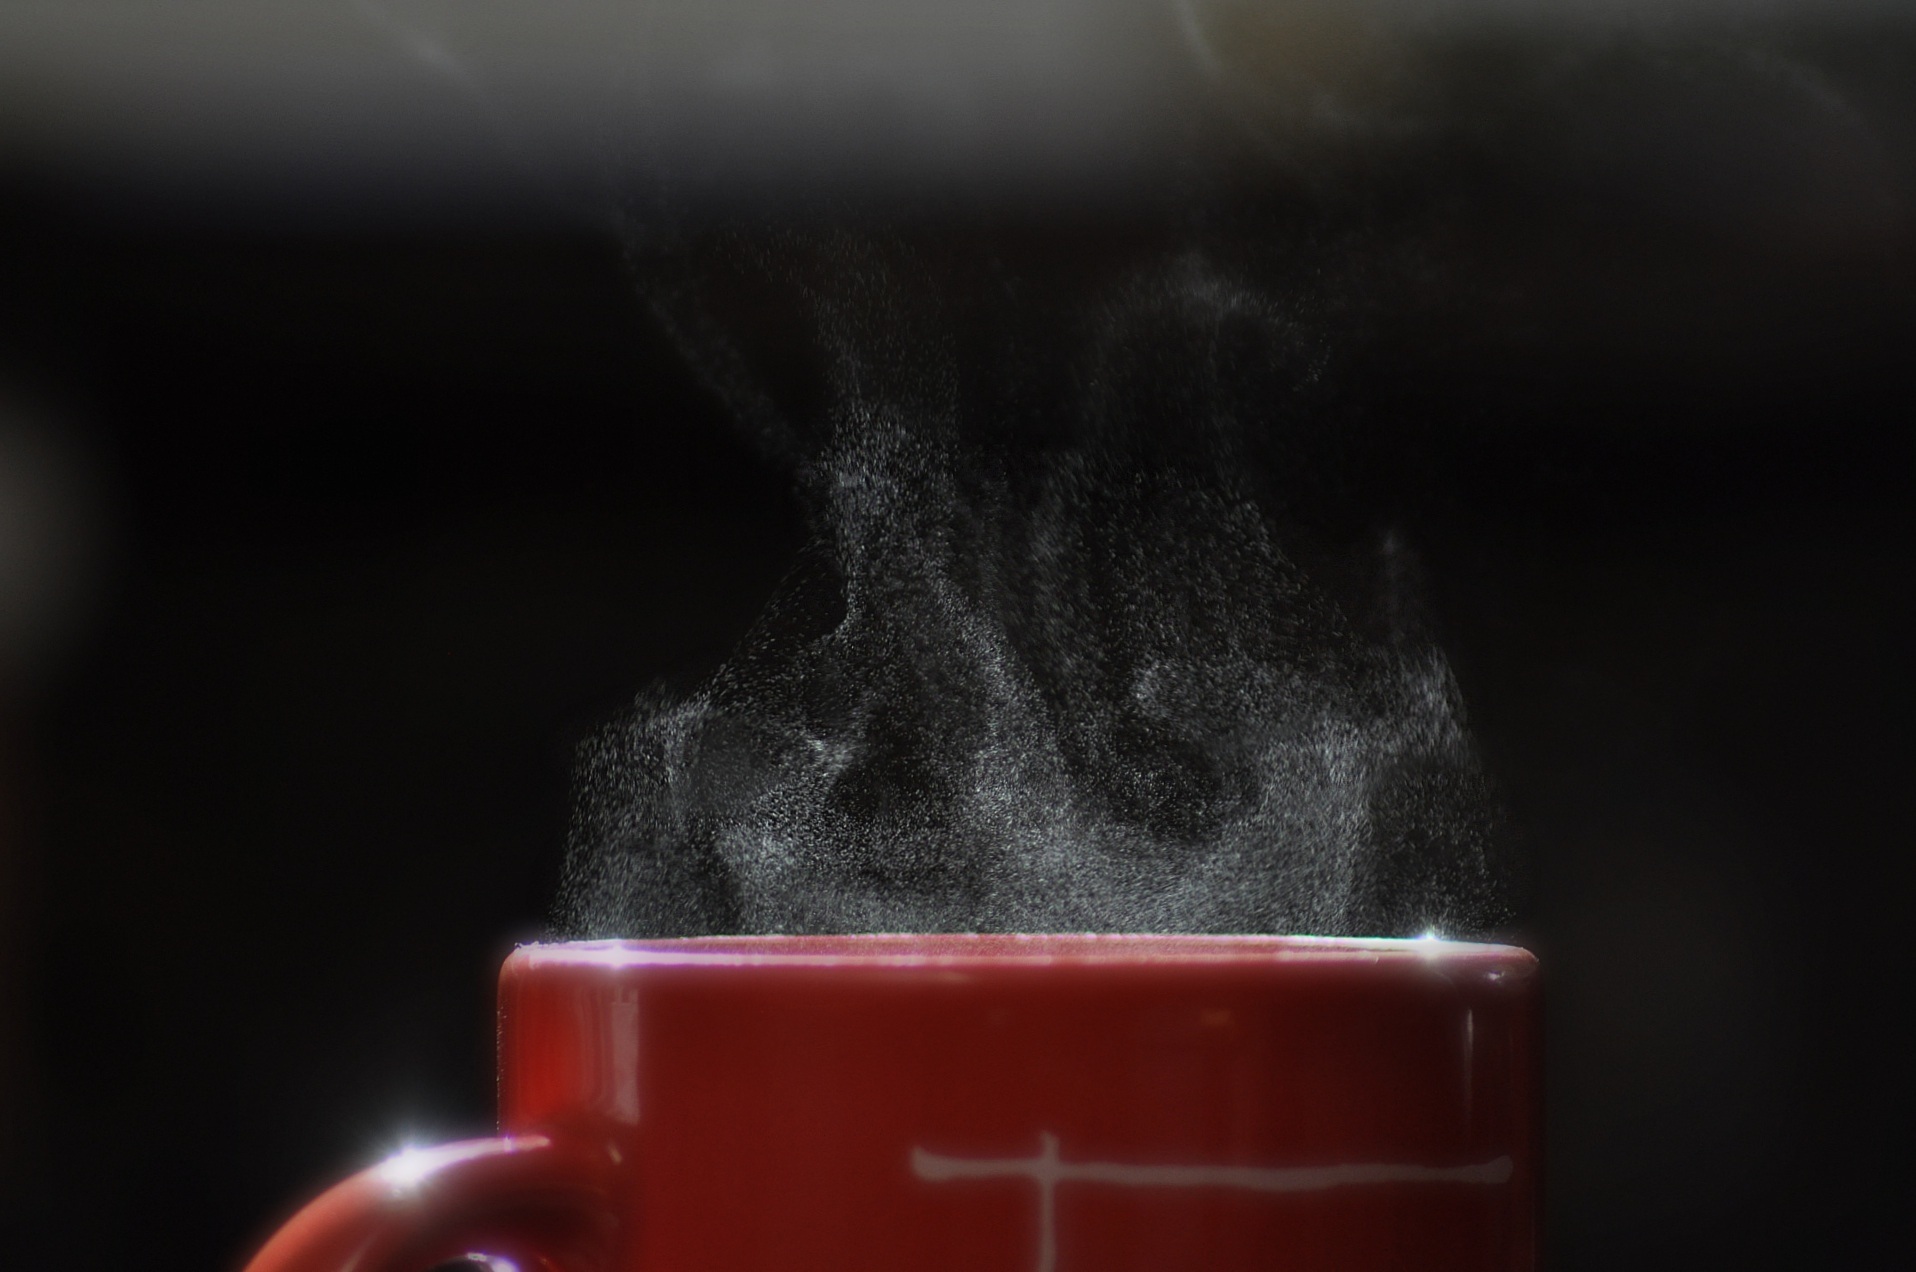
Image by Katy Williams from Pixabay
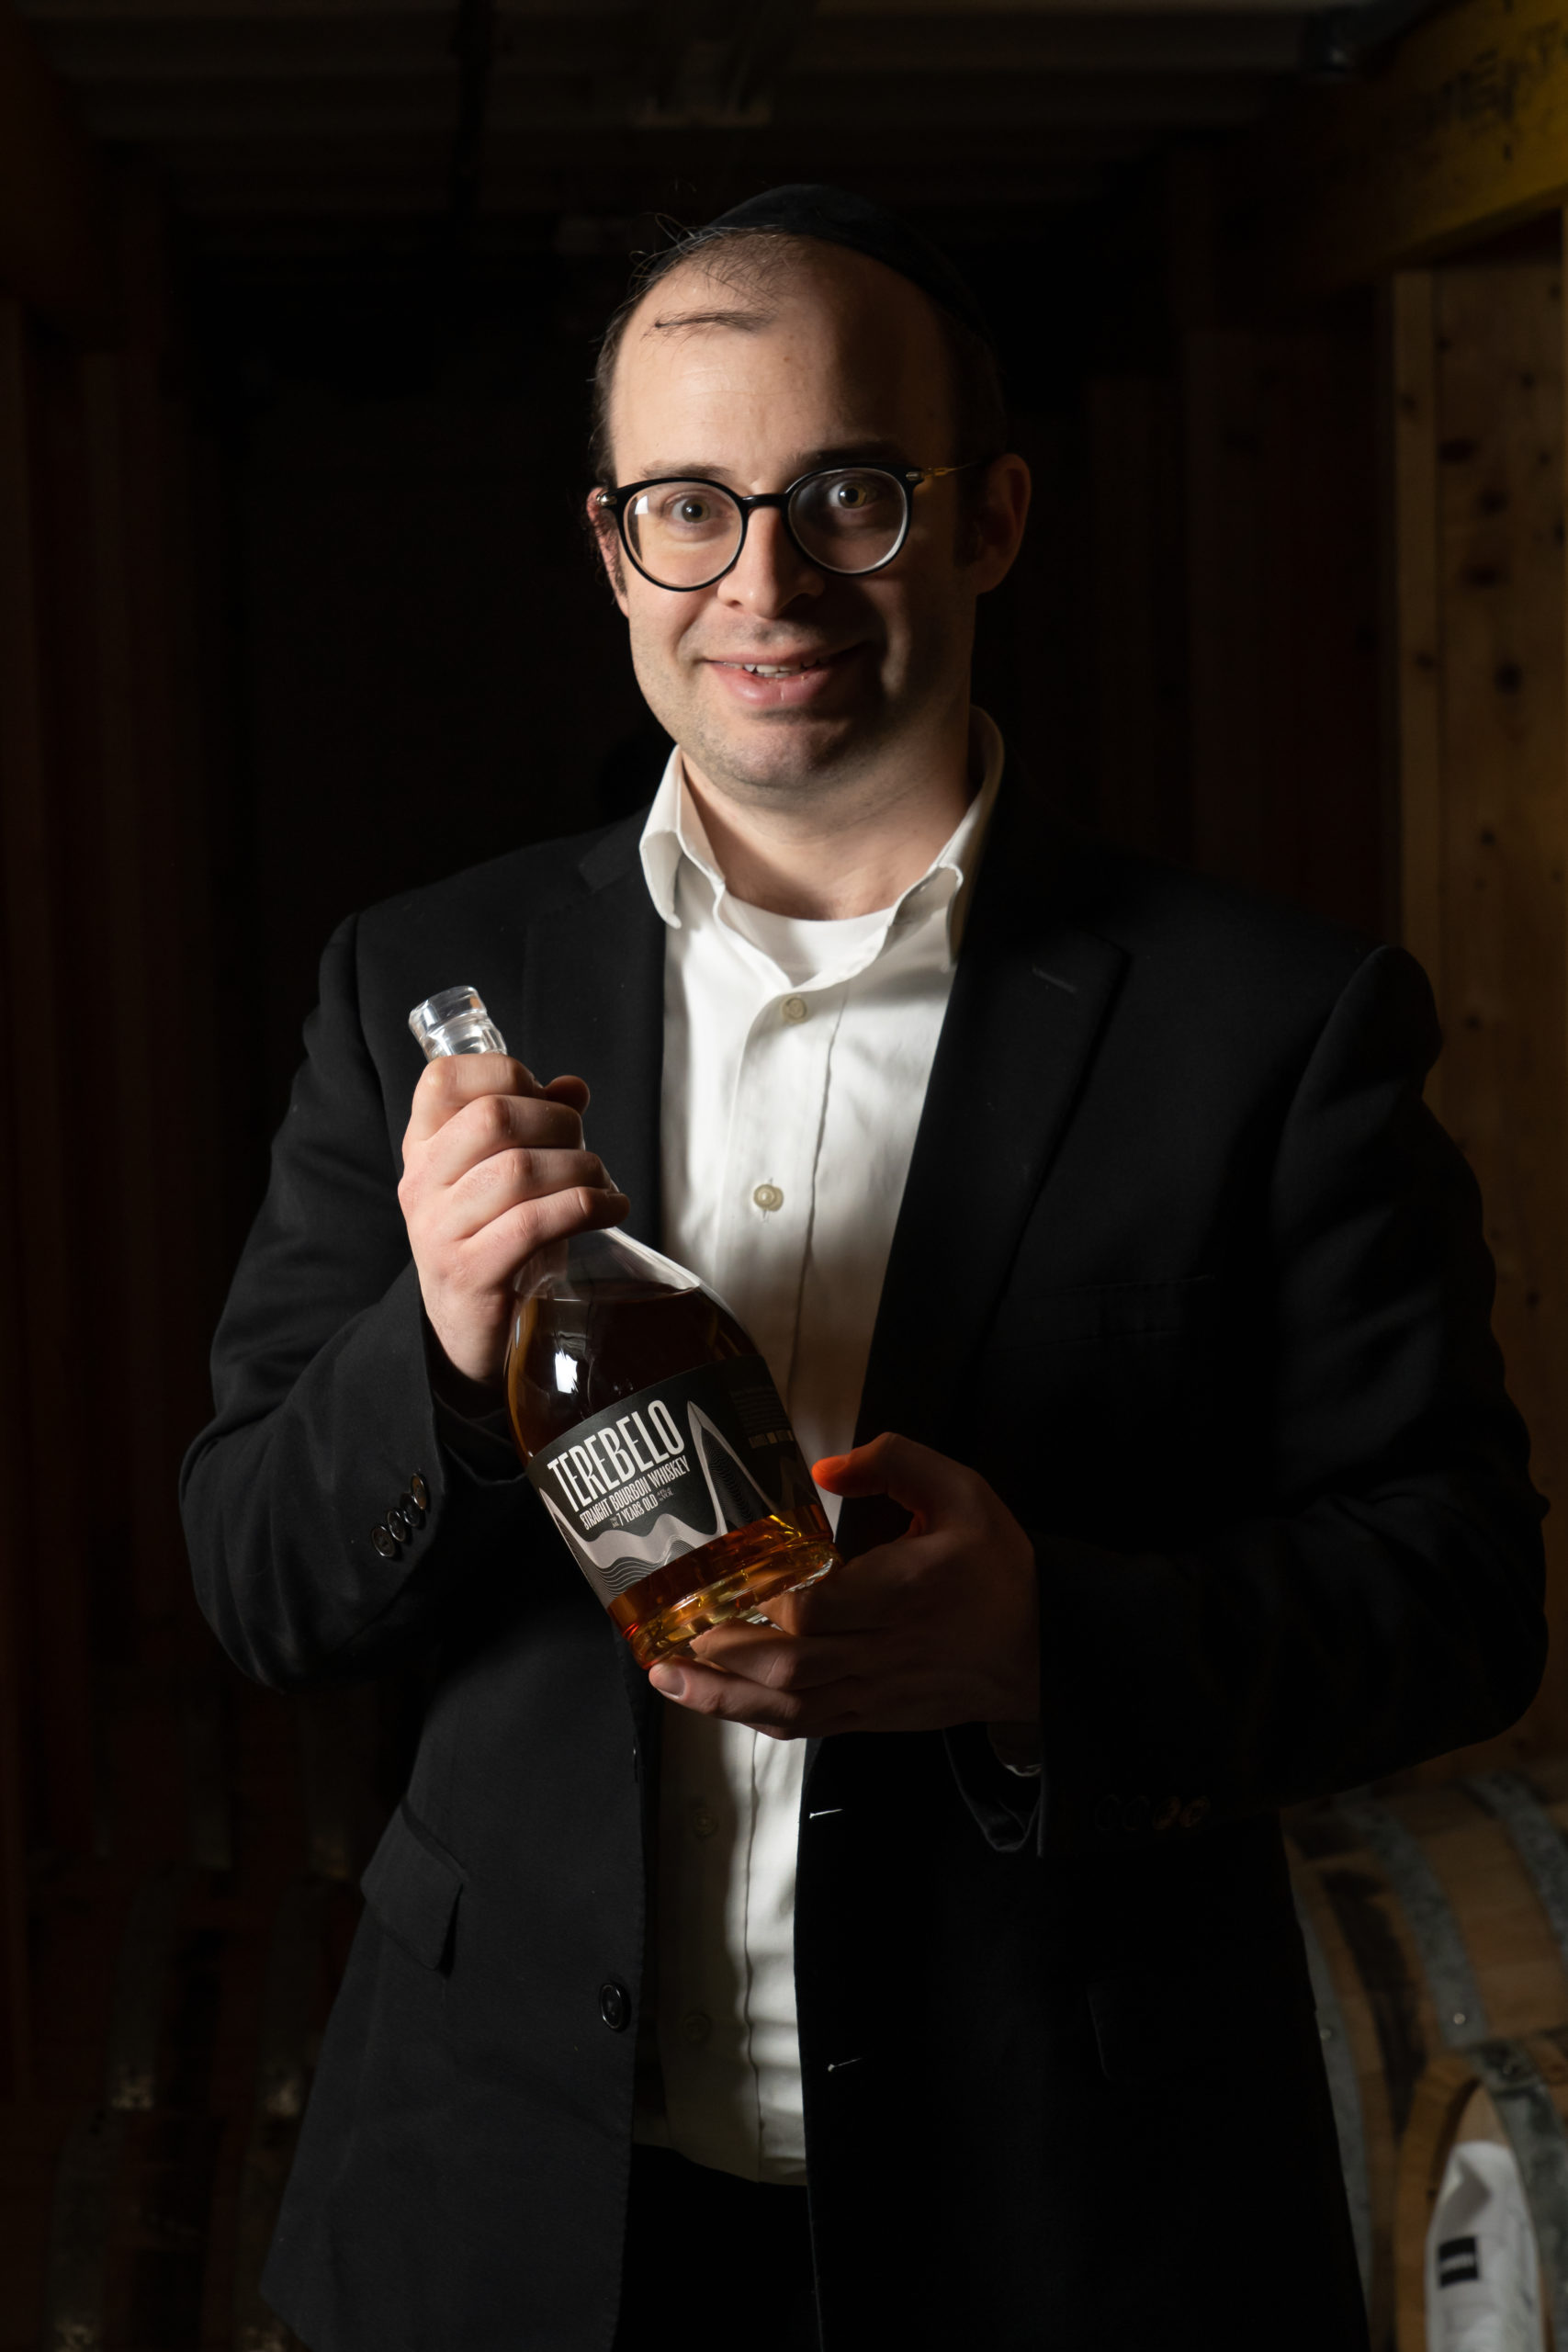
I love hearing from you about why you love something I wrote or published or a recipe I don’t know. I am Master Distiller at Terebelo Distillery, Love all things alcohol. Freelance for Grogmag and blog recipes for buildthebottle.com Weekend Rabbi too.

Customer Reviews
Thanks for submitting your comment!