Rice Wine Recipe D.I.Y.
Hey Guys and Gals!
Are you looking for an awesome Rice Wine Recipe you will find it below! So look no further you have found what you have been looking for! Below is the most awesome tasting Rice Wine Recipe’s in the world.
Ingredients
Step 1
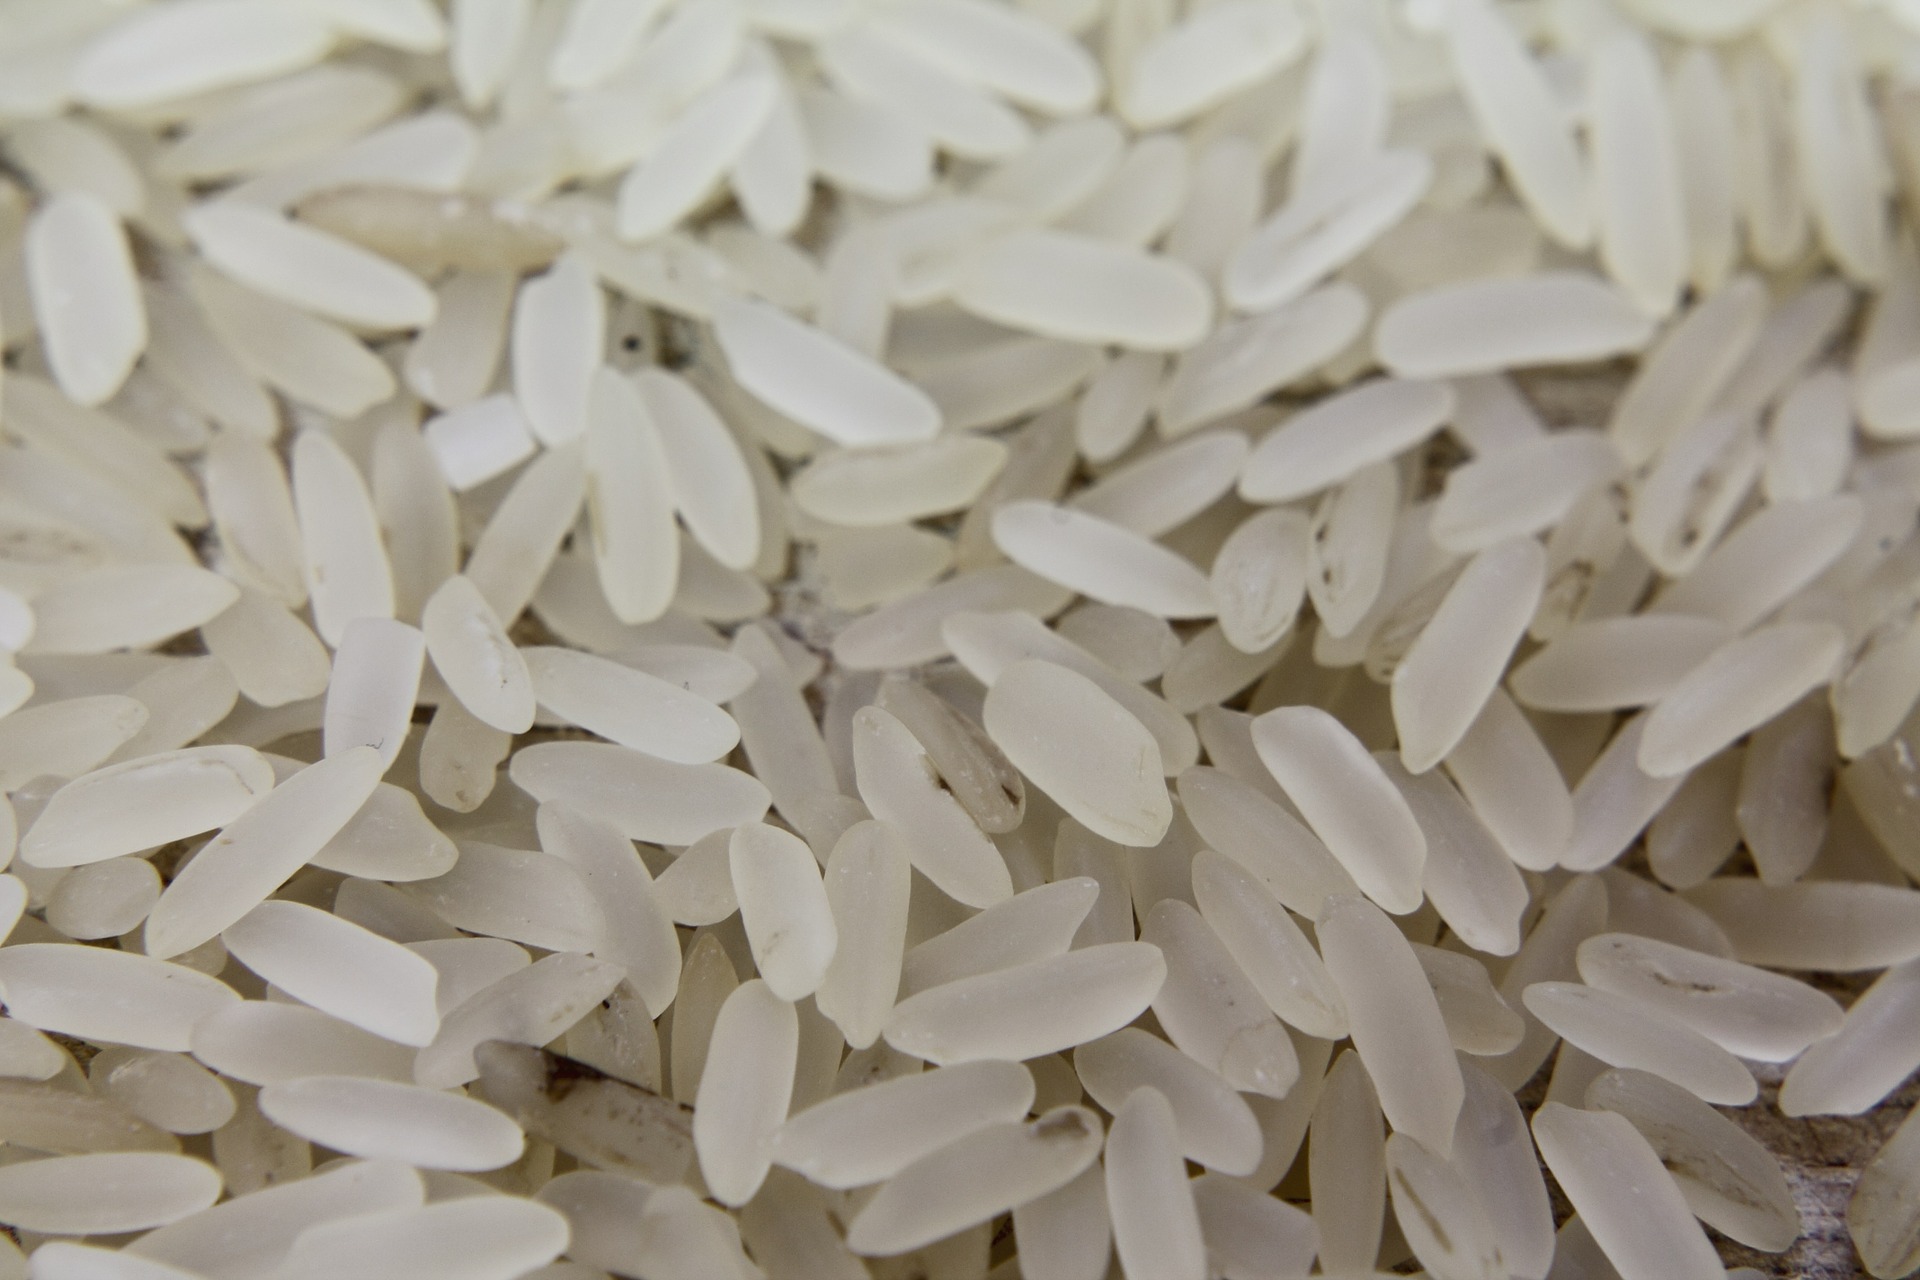
- 5 cups short grain rice, washed and soaked in cold water for at least 2 hours
- 1/4 cup sugar (optional)
Step 2
- 1 package of dry yeast
Instructions
Equipment
- Primary fermenter (carboy)
- stirring spoon
- straining bag
- siphon tubing kit
- 1 gallon carboy or jug
- Sanitizer
- (A thermometer and brewing belt may be used to monitor and control temperature.)
Make sure all equipment (i.e. stirring spoon, etc..) is sterilized you can bleach it or use . Contaminated equipment can let a stray yeast enter the wine and ruin it’s taste.
Instructions
Step 1
Rinse the rice several times in a large bowl until the water is clear as opposed to murky.
Use sticky or glutinous rice this has more sugars in it and will give you a higher alcohol content and better fermentation.
Soak the rice for an hour. After rinsing, soak your rice in hot water for about an hour then strain.
Boil water in the bottom of a steamer following your steamers instructions on how much water to add.
If you don’t have a steamer, you can simply boil water in a medium sized pot.
Follow your rice’s instructions on how to steam when steamed right take off and spread the rice to let cool.
After the water begins to boil, place the rice in the top compartment of a steamer and let it steam.
If you don’t have a steamer, place the sieve of rice above the boiling water, making sure that the rice doesn’t touch the boiling water.
Step 2
Add the yeast after the rice has cooled and put into your container let age for at least a month in a dry hot place.
Yeast Hydration and primary fermentation: in a large cup add 4 ounces of warm chlorine free water.
Stir the yeast into the water then let mixture stand in cup for 15 minutes, make sure it is bubbling and then you will add it to your wine.
Final Step
Although yeast activity will decrease as the fermentation process proceeds, there will still be fermentation going on as long as you still see some foaming or bubbling.
After a month strain and place into a closed jar and chill the chilling process will help clarify the wine before you bottle it.
then rack into a clean carboy.
After 3 days in the fridge remove gently and siphon off the clear wine into bottles don’t shake that will agitate the sediment and cause it to rise and mix.
(The sediment is the stuff that accumulates at the bottom of your container.)
Aging / Bottling
You can repeat the racking process several times to get the maximum clarity though I would wait in-between each time a day or to, so the sediment can settle. I personally don’t like racking multiple times because of the risk of oxidation meaning the air touching it will give it a funny taste.
Now is when you will add the ascorbic acid and add sugar to taste.
Bottle using the siphon cork and chill it does last and gets better with age if you get a high alcohol content!
Other Great Things To Know
- Apple Wine Recipe D.I.Y.
- Pomegranate Wine Recipe D.I.Y.
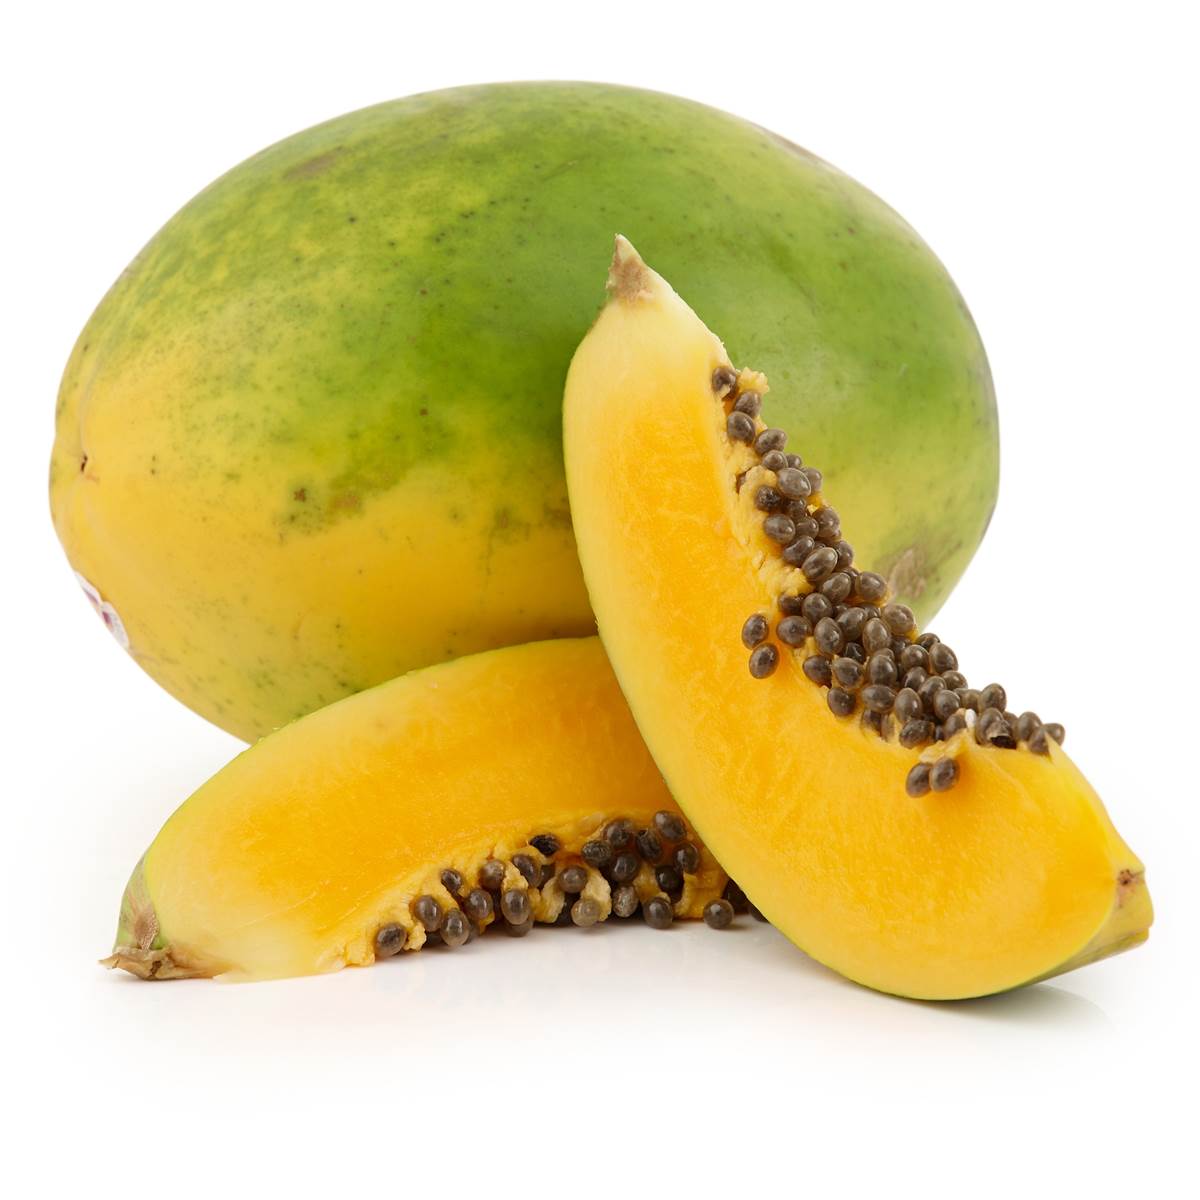
- Mango Wine Recipe D.I.Y.
- What Yeast To Use For Fruit Wine
- Different Types Of Sugar You can Use In A Liqueur
- Which Liqueur To Choose When Making A Party
From Our Sister Website Terebelo.com
- Marketing With Optimism
- The Marketing Of My Vodka Named Yello
- Sales Pitch Listen Don’t Talk
- What Is In A Handshake
- Be Well Rested Before A Meeting
To spirits and cheers,
Binyomin Terebelo, Master Distiller and Drinkologist

I love hearing from you about why you love something I wrote or published or a recipe I don’t know. I am Master Distiller at Terebelo Distillery, Love all things alcohol. Freelance for Grogmag and blog recipes for buildthebottle.com Weekend Rabbi too.
Customer Reviews
Thanks for submitting your comment!