Cocoa Bean Rum Liqueur Recipe D.I.Y.
Hey Guys and Gals looking for a Cocoa Bean Rum Liqueur?
You now have no reason to look any further, you have just found what you are looking for! This is a recipe for the most awesome tasting Cocoa Bean Rum Liqueur in the world.
Ingredients
Step 1
- 4 cups of rum
- 2 vanilla beans, each split lengthwise
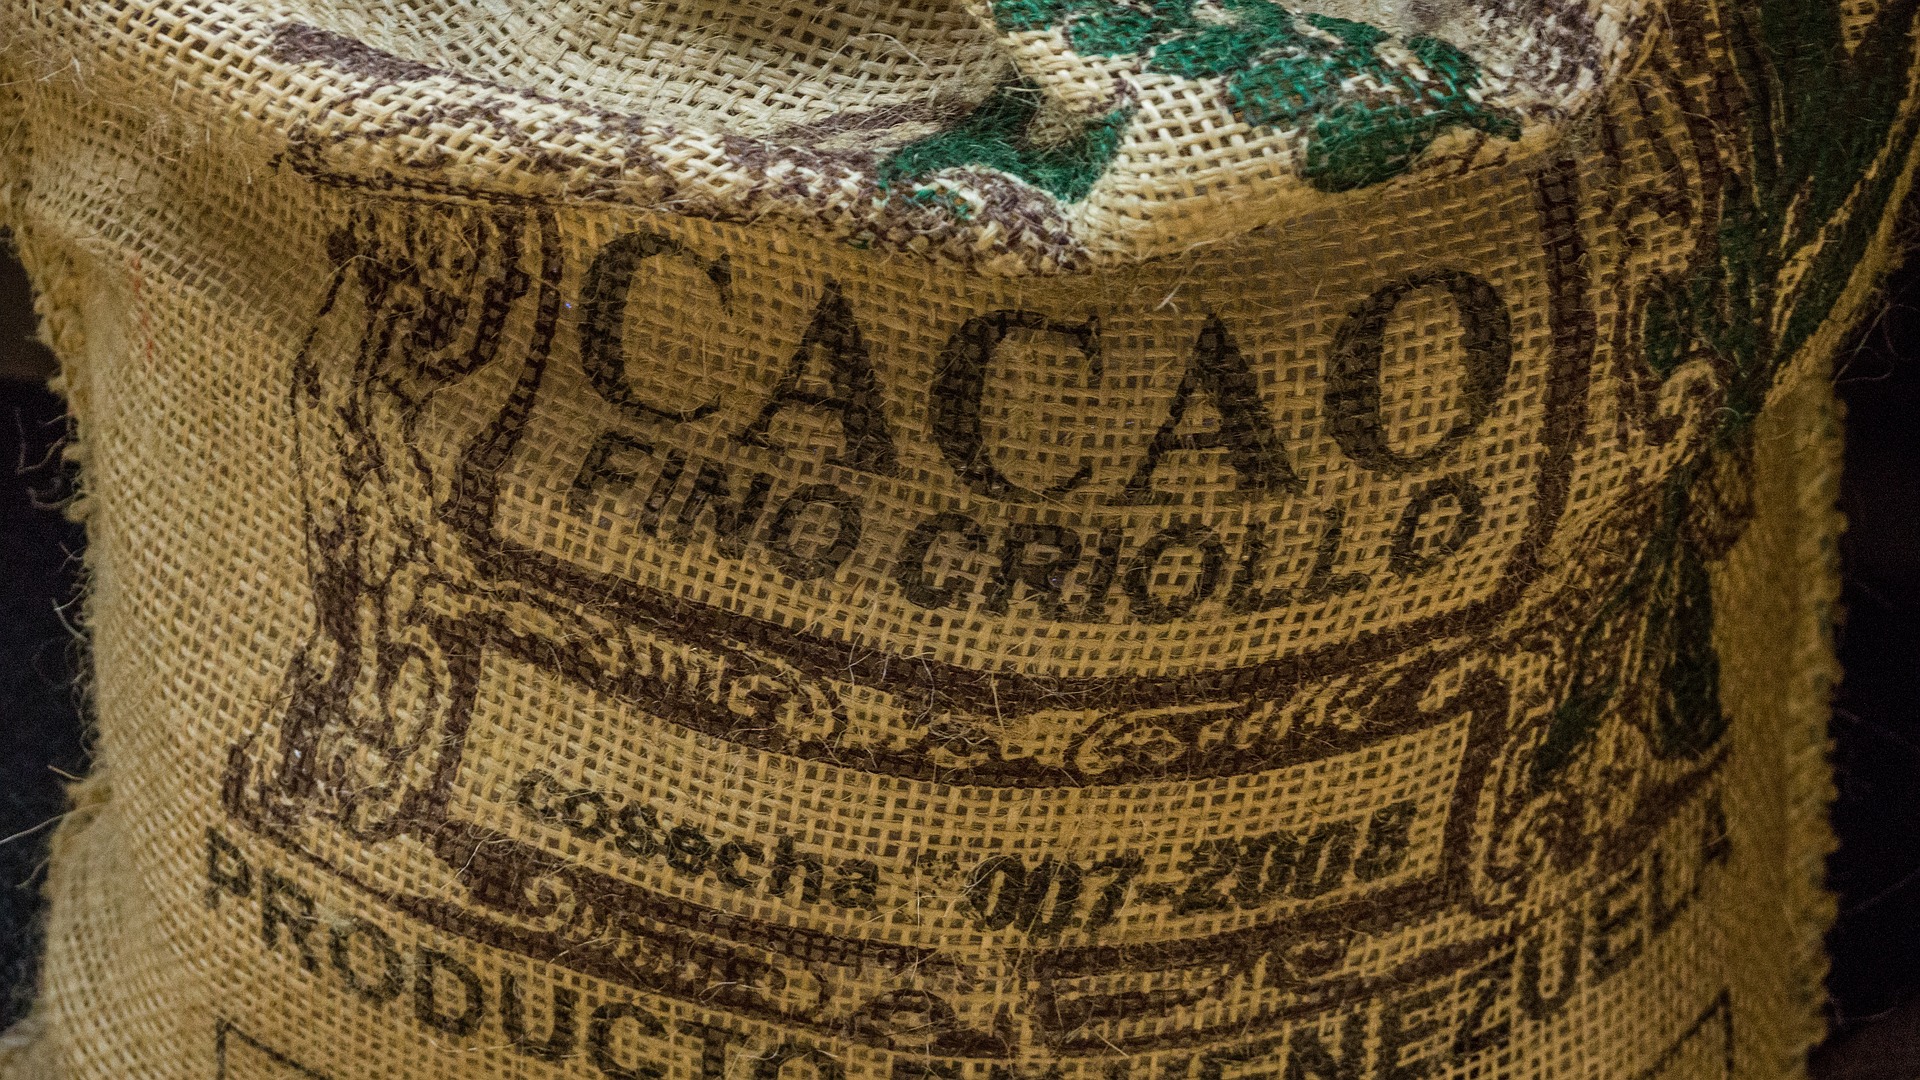
- 1/4 cup cocoa nibs
Step 2 (optional)
- 1 Cup of sugar
- 1 cup of water
Directions
Step 1
Combined ingredients into a your aging container close and shake.
Aging and Straining Your Cocoa Bean Liqueur
Let liqueur age for 3 weeks in a cool dark place.
While the liqueur is aging, give the jar a good shake once or twice a week to agitate and enhance the infusion.
After 3 weeks of infusing, it’s time to strain your liqueur.
Carefully strain the liquid through several layers of cheesecloth. It helps to moisten the cheesecloth first so the liquid permeates more smoothly.
Once you get to the point of straining out the pulp and rind, gently wring the cheesecloth to extract all of the liquid and juice (the fourth photo).
After straining, you can discard all of the rind, pulp and any spice.
Strain back into the large container if you are going to do step 2
Otherwise you can go straight to bottling.
Step 2
Bring the cup of water to a boil in a saucepan. Stir in the sugar slowly making sure it doesn’t burn. Once the sugar has dissolved shut the fire and let cool.
Once cool add slowly to the liqueur tasting all the while till its to your liking.
Congratulations, You Have Completed Making this Awesome Cocoa Bean Rum Recipe!
You now need a bottle and a label which are cool enough to compliment your hard work. Honestly, if you put it into a cheap bottle, people will make fun of you. BUT, if it looks good, people will rave about it!
Utensils Tips
Here is a list of the simplest utensils that you can use; the ones Mom should already have in the kitchen:)
Utensils:
– A large glass jar (3 liter jar)
– large plastic bowl
– measuring cups (liquid and dry)
– metal strainer
– cheesecloth
– saucepan
– small funnel
– glass bottles, or storage containers, for the final product, you can either use the glass Jar you used before, or just buy a second one.
Notes on Utensils and Ingredients
- Glass is always preferable when working with strong alcohol. Avoid plastic as much as possible.
- Use organic ingredients to avoid pesticide residues.
You Like Our Recipes So Try Our Vodka
Other Great Recipes for You to Check Out!
- Mint Liqueur Recipe D.I.Y.
- Pumpkin Liqueur Recipe D.I.Y.
- Jackfruit Liqueur Recipe D.I.Y.
- Cucumber Gin Liqueur Recipe
- Carrot Liqueur Recipe D.I.Y.
- Wall Germander Liqueur Recipe
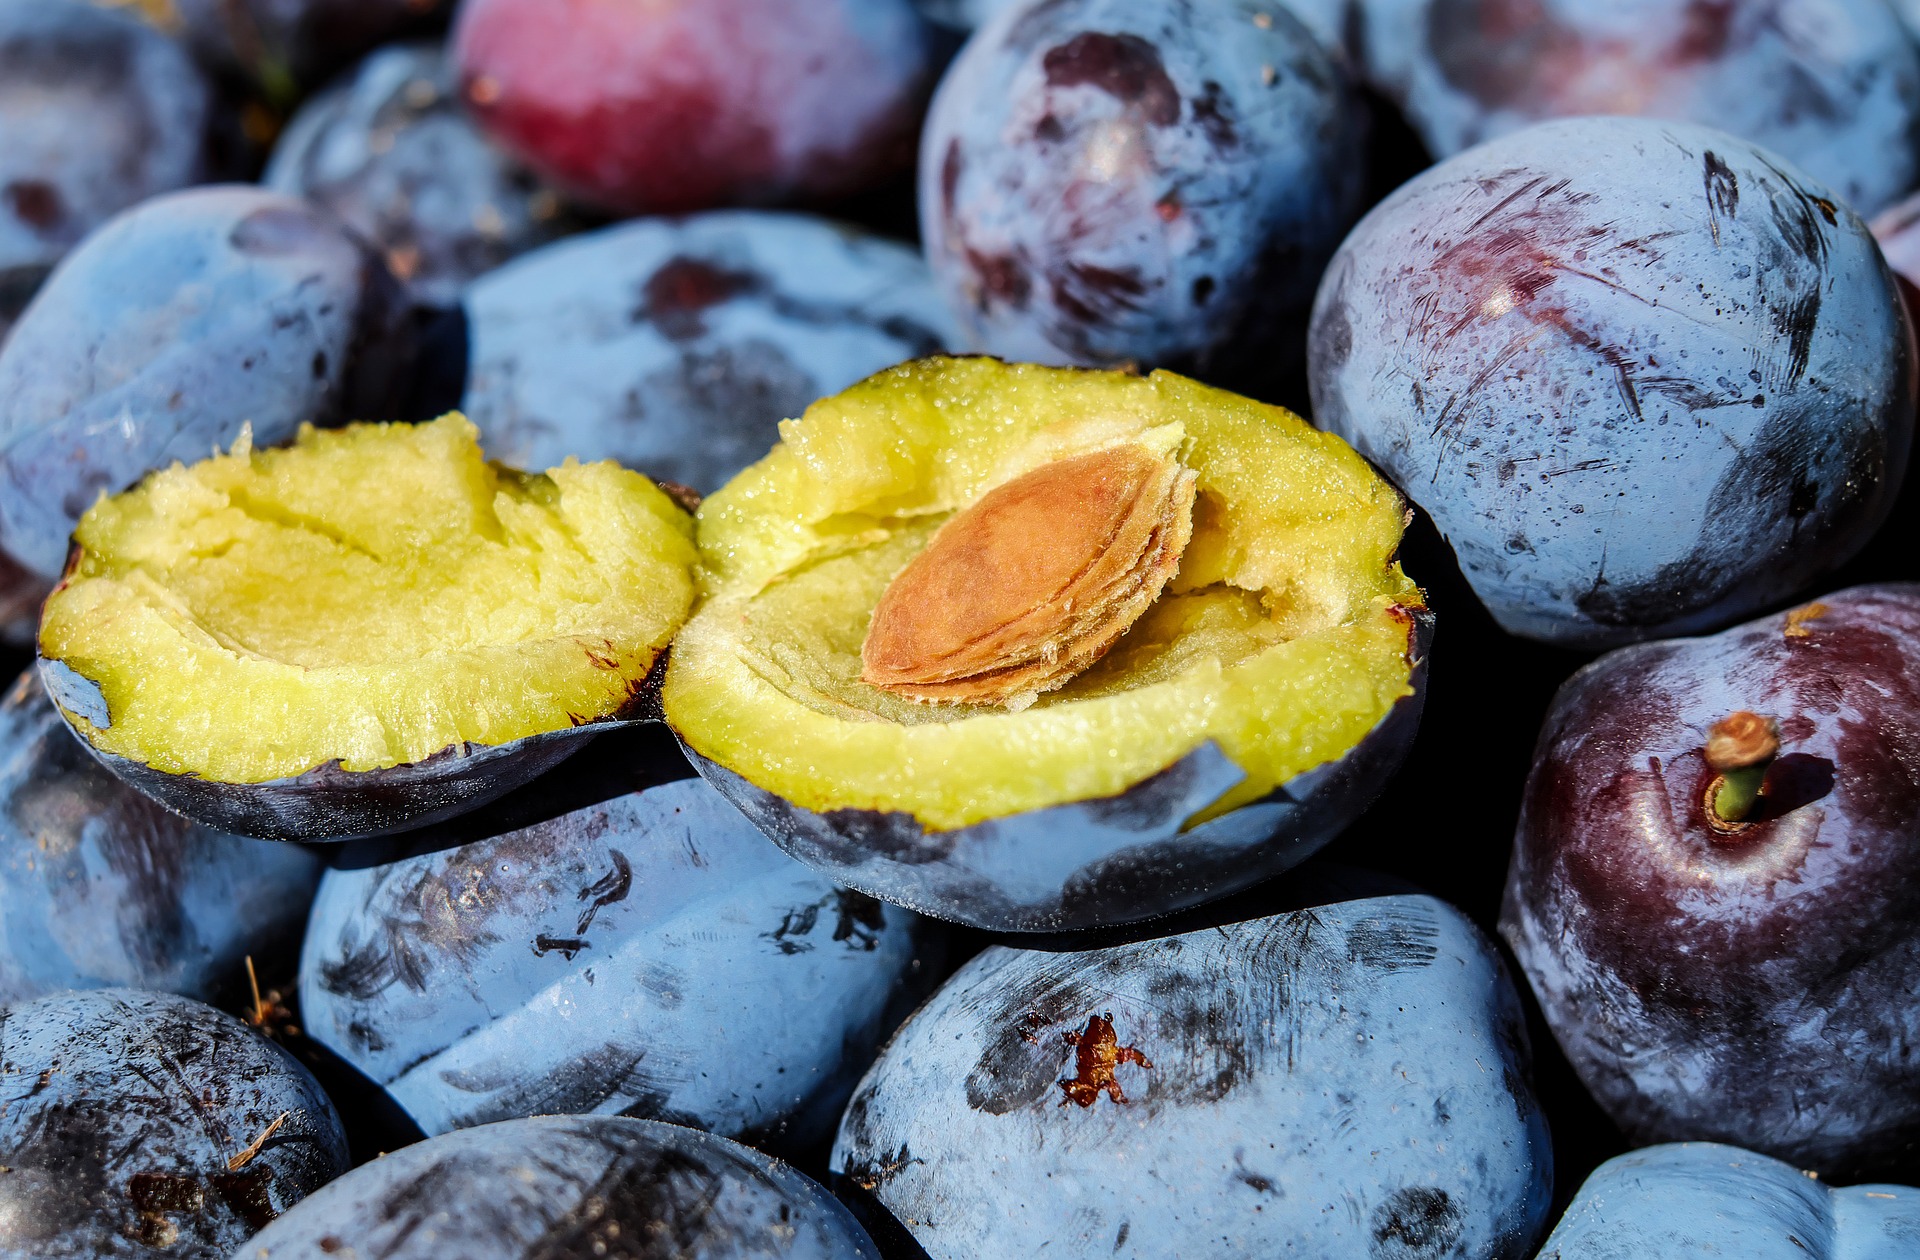
- Plum Liqueur Recipe D.I.Y.
- Sour Apple Cinnamon Liqueur recipe D.I.Y.
- Plum Liqueur Recipe D.I.Y.
- Sour Apple Cinnamon Liqueur recipe D.I.Y.
From Our Sister Blog Terebelo.com
- Marketing With Optimism
- The Marketing Of My Vodka Named Yello
- Sales Pitch Listen Don’t Talk
- What Is In A Handshake
- Be Well Rested Before A Meeting
You Will Find Great Analysis At tastethebottle.com Of Yor Favorite Bottle
To spirits and cheers,
Binyomin Terebelo, Master Distiller and Drinkologist.

I love hearing from you about why you love something I wrote or published or a recipe I don’t know. I am Master Distiller at Terebelo Distillery, Love all things alcohol. Freelance for Grogmag and blog recipes for buildthebottle.com Weekend Rabbi too.
Customer Reviews
Thanks for submitting your comment!